I wasn’t planning on being a crazy coconut this weekend, but things just completely spiraled that way! I knew I wanted to make coconut cake pops. My step-daughter absolutely loves cake pops. She wants me to make them for every holiday. Secret? I hate making cake pops. They are so much work!! But, after two years I’ve kind of gotten the hang of it enough for it not to be a total catastrophe and completely messy and time consuming! Plus, I bought one of those candy melting pots, they are amazing.
So, what did I make? Coconut Cake Pops, Watermelon (looking) Cake Pops, Watermelon/Coconut Dog Treats, and a delicious Blue Coconut drink, because I had a lot of children this weekend, and it was really hot. Sometimes I need a cool (alcoholic) drink to keep me sane!
I actually began making the cakes on Thursday of last week. Biggest mistake ever. Typically this wouldn’t matter; however, I decided to make the “watermelon” cake at around 10 p.m. after returning home from a tech rehearsal for my step-daughter’s dance recital this weekend. Long story, short? I left that cake in the oven with it on, all night long. Luckily I have a TERRIBLE oven. Sure, the cake was burnt to a crisp. But, it was actually still kind of soft..And came right out of the pan. And it never caught fire or smelled like burning. Oh, the joys of baking.
So, first was the “watermelon” cake pop. Really, it was just white cake mix with red food coloring to make it pinkish…And mini chocolate chips for the “seeds!” You could also use pink velvet cake mix or strawberry cake mix. Just make and bake according to the package directions! Then, cool cake completely, cut the cake into quarters and either crumble with your hands, with two knives, or take two pieces and rub them together to create the crumbles! Then add about 1/3 cup of frosting, I just used a tubbed vanilla, you don’t want to use anything colored (unless it’s pink!) because it would alter the color of the “watermelon.” I would have used my pink gel food coloring for a richer color, but honestly I was too tired. I had three nephews, my step-daughter, and it was really hot for Juneau, in the high 70s!! Plus with all the running around with the dance recital, forget about it. I wasn’t digging out my fancy dye! Next I added the mini chocolate chips, I only added about 1/2 cup. I DEFINITELY will add more next time, at least double that! But, once you start mixing, you’ll know what you think is right. The roll into little balls using your hands, place in fridge or freezer to harden up a bit while melting your candy melts. Recently I bought one of those fancy Wilton Candy Melting Pots. I’m so happy I splurged on something for myself. It’s so convenient and it makes clean up a breeze! I coated these thinly with a layer of white, and then a layer of green, to simulate little, teeny watermelons! These were honestly the favorites of everyone, which surprised me, I think they just liked that they were green, I mean, the boys are 5 and 8…Green stuff is cool if it isn’t salad.


All of the boys liked the green ones…Jack Jack has had his eye on these suckers all morning.


I definitely needed more chocolate chips, but yum!!

You know I have to share that I got ANOTHER double yolk. Always makes my day. These are my coconut ones (see recipe below.) These are already all rolled out and hanging out in the freezer with my ice cream. Next is my white candy melts all melted, you want to stick your lollipop stick in just a tad of candy melt and then stick it in your cake ball about 1/2 way up. Let these dry for a minute, if it’s 80 degrees out, you better put them back in the fridge/freezer to let that happen! Then stick your entire cake pop into the melted candy and twirl until covered, pull out and gently tap on the edge and turn to remove any excess candy coating. You can place these either in an upside down colander (place the stick through the holes) or cake pop holder, or if I’m not doing fancy ones I’ll just lay it back down on my wax paper (just know this will leave one flat side!)


Quick tips:
- Be careful of not scorching your candy melts! It can be easy to do if you are heating in the microwave. Be sure to follow the directions.
- You will more than likely need to add in some oil of some sort to help thin out the candy melts, they are made for molds, not covering delicious balls of cake! I use coconut oil personally, but you could use just about any type, just be aware of the change of the flavor it will cause. (That’s why I typically use coconut oil. It has a mild taste, which is coconutty, goes with many flavors.)
- Don’t make too thick of a candy coating, it’s unpleasant to hurt yourself while trying to eat one of these little guys!
- Try not to cover your frozen cake pops will hot candy melt, this can cause the candy coating to crack. I haven’t had this problem when pulling straight out of the fridge though.
Coconut Cake Pops with Coconut Cream Cheese Frosting:
Yields about 20 cake pops. Prep time: 40 minutes Bake time: 20 minutes. Total time: 60 minutes.
Ingredients:
1 cup cake flour
1 teaspoon baking powder
2 eggs
2/3 cups sugar
¼ cup room temperature butter
1 tablespoon + 1 teaspoon coconut oil, melted.
1/3 cup cream of coconut (or coconut milk)
½ teaspoon vanilla extract
Cream Cheese Frosting:
2 tablespoons of butter, room temperature
2 ounces cream cheese, room temperature
1 teaspoon cream of coconut (or coconut milk)
3/4 cups powdered sugar
Plus shredded coconut for topping, if you desire.
Directions:
- Preheat your oven to 350 degrees F. Spray an 8-inch cake pan with non-stick spray.
- Mix cake flour, baking powder, and salt together.
- In the bowl of a stand mixer fitted with the paddle attachment, or with your hand mixer, blend sugar, butter and coconut oil on medium speed until well combined. Add in eggs, one at a time, blending thoroughly until combined, and then add in vanilla extract.
- In three separate steps, add in 1/3 of the flour mixture, stir, ½ of the cream of coconut, stir, and so on, ending with the flour mixture.
- Pour into prepared pan and bake in the oven for 20 minutes or until a toothpick inserted comes out clean.
- Cool completely before attempting to crumble for cake pops!
Cream Cheese Frosting:
- In the bowl of a stand mixer fitted with the paddle attachment, or with your hand mixer, beat the butter and cream cheese on medium-high speed for about 2 minutes.
- Turn the mixer down to low speed and mix in cream of coconut. Then gradually add in the confectioners’ sugar until it is completely incorporated.
- Once your cake is cool and crumbled, add in frosting a bit at a time and mix until it is at the correct consistency to be molded into cake balls (or whatever shape you prefer!)
I also completely went nuts with my coconut and made a drink and some awesome frozen doggy treats, since it was so darn hot out:
Watermelon Coconut Frosty Treats:
1 cup of watermelon, 1/2 cup coconut water (or coconut milk) and, if you really want, 1/2 tablespoon of honey.
Puree watermelon, then add coconut water and honey, if using, and puree once more to mix thoroughly. Pour into molds (I used a cute little heart silicone mold) and freeze. Pop these little suckers out and feed to your pups!


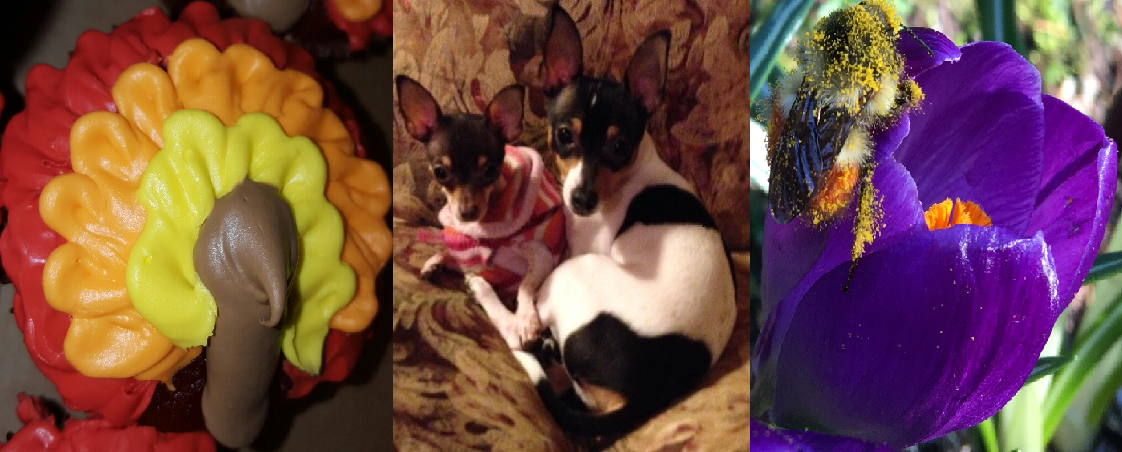
 Susie Q was the only one that didn’t completely devour it before I could even get any pictures! She is so dainty. Isabella wasn’t even remotely interested in these freezing thing, even if they were watermelon flavored, plus it involved having to go…Outside. 😉
Blended Blue Coconut:
1 cup of pineapple juice
1/2 cup blue curacao
1/2 cup vodka
1/2 cup cream of coconut
8 cups of ice
Blend all ingredients until smooth. If you want to be fancy, you can line the rim of your glass with cream of coconut and shredded coconut, but, typically I just want to drink my drink and not worry about the fancy stuff.


Wow, that was a long one today, couldn’t help it, I had to share all the fun stuff I made this weekend!


2 thoughts on “A Weekend Full of Coconut…”